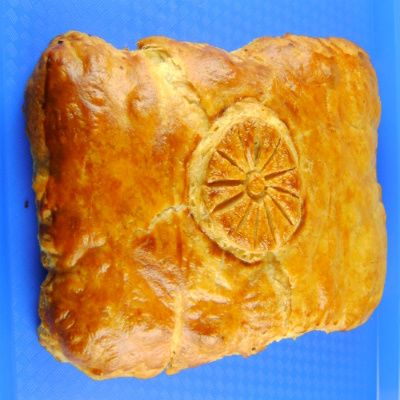
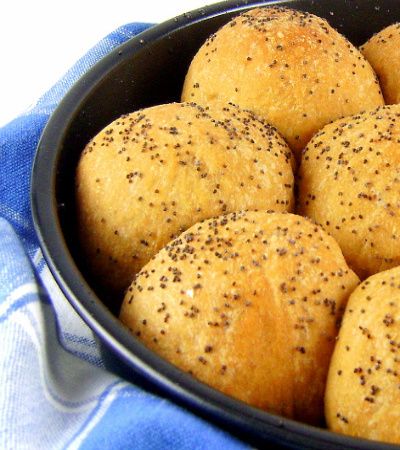
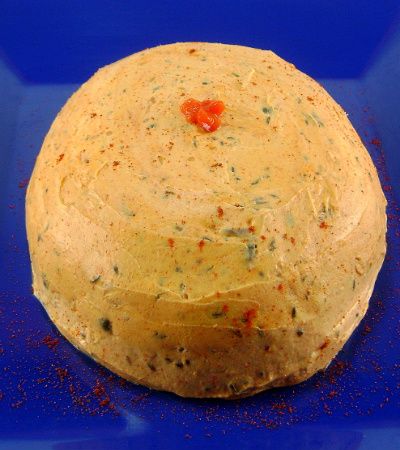
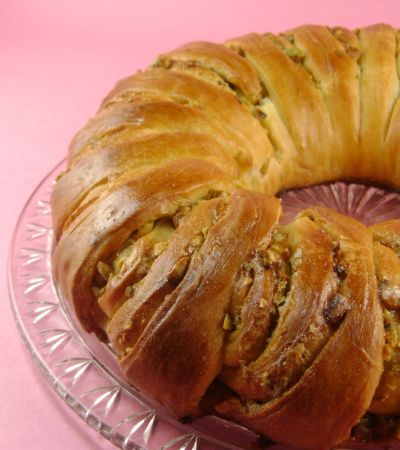
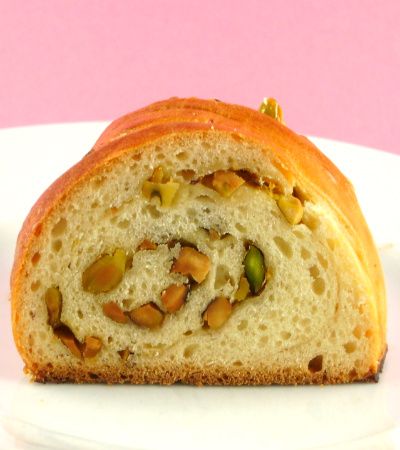
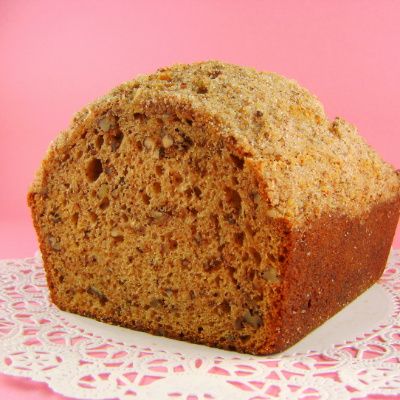
From the kitchen of One Perfect Bite...Many years ago, I worked in a facility that was a 10 minute drive from Short Hills Mall and Bloomingdale's Department Store. When things were calm, I loved to sneak over to the bakery in Bloomingdale's basement and buy a stash of rye raisin rolls. They were not quite Lucullean, but they came awfully close and I loved them. You can imagine how delighted I was when I learned the November challenge at Recipes to Rival was going to be Old World Rye Bread from "A World of Breads" by Dolores Casella. Our hostess, Temperama of High on the Hog, also gave us some leeway to play with the base recipe. My personal quest was to alter it and duplicate the Bloomingdale's rolls. I tried three times, but had to admit defeat. I can tell you that despite that, this is a lovely recipe and well worth your time should you choose to use it to make a plain rye bread. I used dark rye and dark molasses to make the dough. I also pulverized the caraway seeds and added brown sugar, raisins and toasted walnuts to the base recipe. The bread is very easy to make and it has a lovely hint of cocoa in its moist crumb. Here's the recipe.
Old World Rye
A World of Breads by Dolores Casella, 1966
Ingredients:
2 cups rye flour
1/4 cup cocoa
2 tablespoons yeast
1-1/2 cups warm water
1/2 cup molasses
2 teaspoons salt
2 tablespoons caraway seed
2 tablespoons butter
2-1/2 cups white flour or whole wheat flour
Directions:
1) Combine rye flour and cocoa. Do not sift.
2) Dissolve yeast in 1/2 cup warm water.
3) Mix molasses, 1 cup warm water, salt, and caraway seed in large mixing bowl. Add rye/cocoa mix, proofed yeast, butter and 1 cup white flour or whole wheat flour. Beat until the dough is smooth.
4) Spread remaining flour on a breadboard and kneed it into dough. Add more flour if necessary to make a firm dough that is smooth and elastic. Place in buttered bowl and cover. Allow to rise until double (about 2 hours).
5) Punch dough down, shape into a round loaf and place on a buttered cookie sheet that has been sprinkled with cornmeal. Let rise about 50 minutes.
6) Bake at 375 for 35 to 40 minutes. Yield: 1 loaf.
Cook's Note: I added 1 cup or raisins and 1 cup walnuts to the dough before kneading.
This recipe is linked to:
Wild Yeast - Yeast Spotting